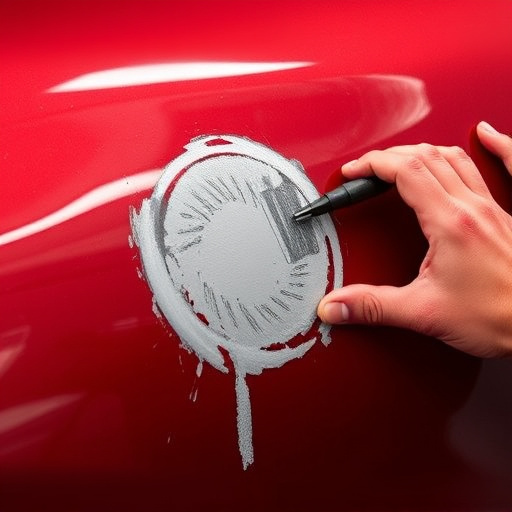

Tesla Paint Protection Film (PPF) repairs require meticulous assessment and specialized tools for tears, punctures, or delamination. Choosing manufacturer-matched film ensures visual similarity and compatibility. Correct application involves preparation, precision cutting, careful positioning, setting, inspection, minor adjustments, and optional topcoats for optimal protection. DIY or professional repair methods emphasize safety and adherence to guidelines for a seamless finish.
Tesla’s Paint Protection Film (PPF) is a popular choice for vehicle owners seeking to safeguard their cars’ finishes. When damage occurs, proper repair ensures both aesthetics and long-term protection. This article delves into the process of fixing Tesla PPF, from assessing damage to selecting the ideal manufacturer-matched film and applying it expertly. Learn how these steps guarantee a seamless repair that maintains your vehicle’s original look and enhances its overall value.
- Understanding Tesla PPF: Damage Assessment and Repair Process
- Choosing the Right Manufacturer-Matched Film for Optimal Results
- Step-by-Step Guide: Applying and Ensuring Longevity of PPF Repair
Understanding Tesla PPF: Damage Assessment and Repair Process
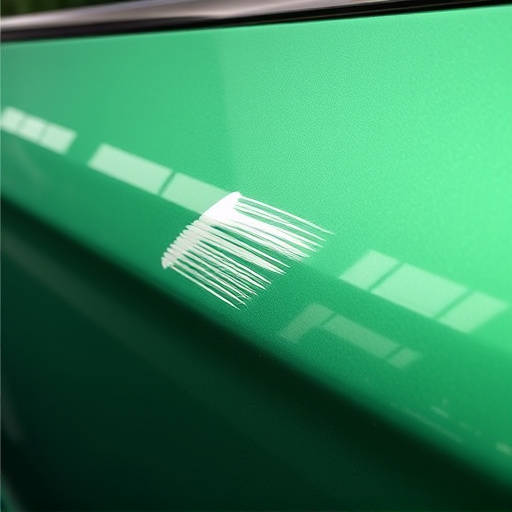
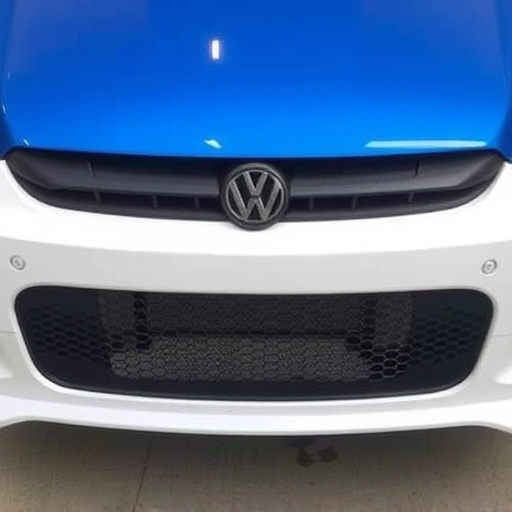
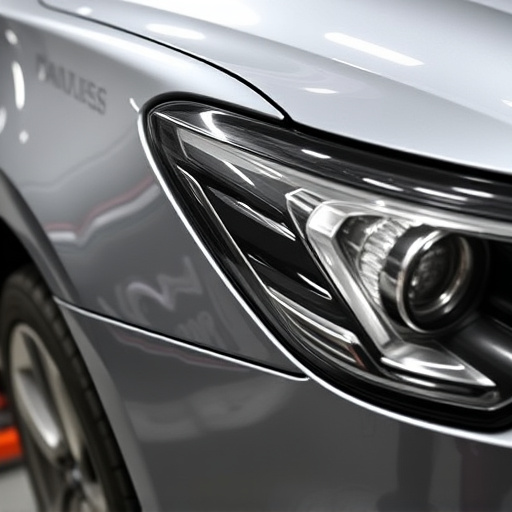
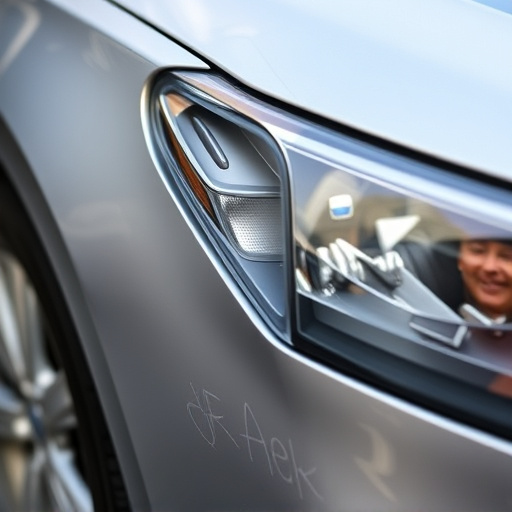
Tesla’s Paint Protection Film (PPF) is a clear, durable polymer that acts as a protective layer over a vehicle’s paintwork, shielding it from chips, cracks, and minor scratches. It’s particularly popular among Tesla owners for its ability to enhance the car’s appearance while offering long-term protection.
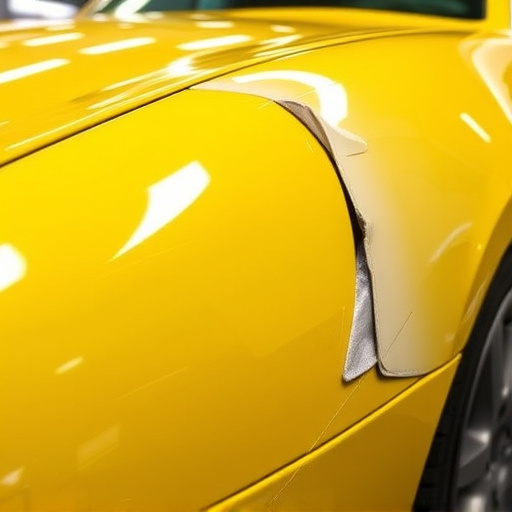
When assessing damage to a Tesla PPF, professionals in a reliable vehicle body shop begin by examining the affected area closely. They look for signs of tearing, punctures, or delaminating—where the film separates from the paint below. Based on this assessment, they determine the extent of repair needed, which can range from simple touch-ups to complete replacement of the PPF. The repair process involves careful removal of the damaged film using specialized tools, preparation of the underlying surface, application of a new, manufacturer-matched film, and finally, precise trimming and smoothing for a seamless finish. This meticulous approach ensures that not only is the visual integrity of the car’s exterior maintained, but the protective benefits of the PPF are also preserved.
Choosing the Right Manufacturer-Matched Film for Optimal Results
When it comes to Tesla PPF (paint protection film) repair, selecting the appropriate manufacturer-matched film is paramount for achieving superior outcomes. It’s essential to choose a product specifically designed for Tesla vehicles to ensure not just visual similarity but also perfect compatibility with the car’s surface. Opting for genuine or certified replicas from trusted manufacturers guarantees a seamless fit and maintains the vehicle’s original aesthetics.
The right film should offer robust protection against dent removal, scrapes, and other forms of automotive body work damage. Fleet repair services often rely on manufacturer-matched PPF for its effectiveness in preserving the car’s exterior, making it a popular choice among professionals. By carefully considering these factors, Tesla owners can restore their paint protection film to its original condition, enhancing the vehicle’s appearance and longevity.
Step-by-Step Guide: Applying and Ensuring Longevity of PPF Repair
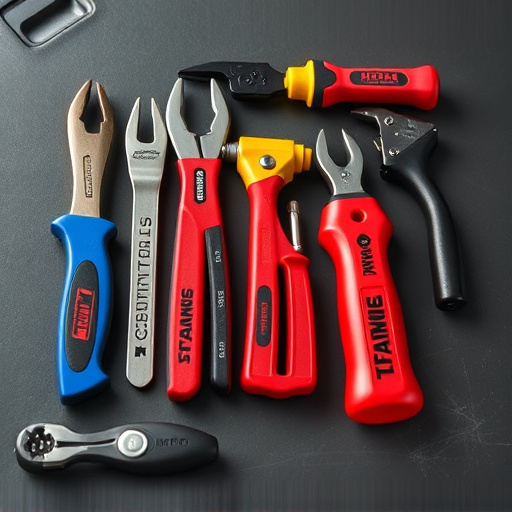
Applying Tesla PPF (paint protection film) repair correctly is key to ensuring longevity and maintaining your vehicle’s sleek appearance. Here’s a step-by-step guide for a successful DIY or professional Tesla PPF repair:
1. Preparation is vital. Begin by thoroughly cleaning the damaged area, removing any debris or contaminants. Use dedicated car washing methods and ensure the surface is dry to the touch before proceeding.
2. Prepare your work area by donning protective gear, including gloves and safety goggles. This step is essential for both your safety and the preservation of your vehicle’s finish.
3. Cut a piece of manufacturer-matched film to fit the damaged area exactly. Take your time with this step; precision is crucial. Remove any backing tape from the new film, but do not expose the adhesive side yet.
4. Apply the collision repair solution or primer recommended for PPF installation. This step enhances adhesion and ensures a lasting bond between the film and your car’s paintwork.
5. Carefully position the film over the damaged area, aligning it precisely with your vehicle’s contours. Ensure no air bubbles are trapped beneath. Press firmly to activate the adhesive, then smooth out any wrinkles or imperfections using a soft cloth or applicator.
6. After the film has set according to the manufacturer’s instructions, inspect the repair for any gaps or misalignments. Make minor adjustments if needed, using a sharp blade to trim excess film.
7. For optimal car body restoration, consider adding a topcoat or sealant designed for PPF. This step further protects the film and enhances its durability against scratches and environmental factors.
When it comes to repairing your Tesla’s Paint Protection Film (PPF), using manufacturer-matched film is key. This ensures not only a perfect visual match but also maintains the integrity of your vehicle’s protective layer. By following the step-by-step guide provided, you can achieve a long-lasting repair that preserves the PPF’s effectiveness in safeguarding your Tesla’s paintwork against road debris and other environmental factors. Remember, proper assessment, choosing the right film, and meticulous application are essential for optimal results.