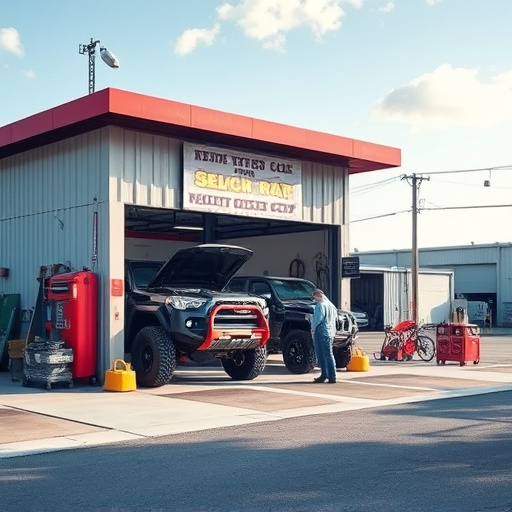


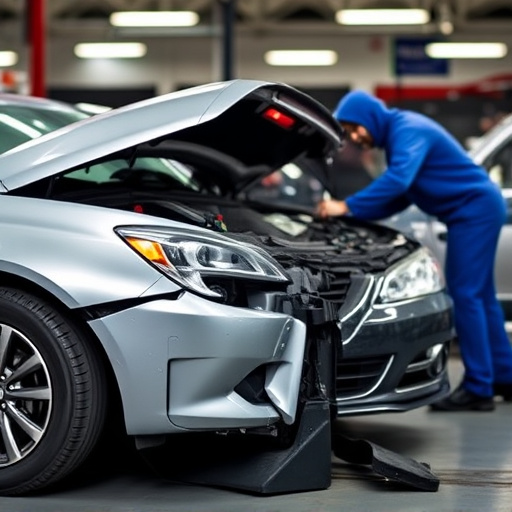
Tesla PPF (paint protection film) repair requires careful expertise for removal and damage assessment. After peeling off old film, inspect car surface for dents, chips, or lifted paint. Professional auto services specialize in fleet repair to fix these issues using modern protective coatings. Surface preparation involves cleaning, decontaminating, and drying to ensure optimal adhesion of new PPF. Repairs demand meticulous cleaning, filling, sanding, and precise reapplication to match original finish, protecting against future damage.
Tesla owners often wonder about repairing their Paint Protection Film (PPF) after it’s been removed. This guide delves into the process, providing a step-by-step approach for effective Tesla PPF repair. Understanding the removal process and assessing surface damage are crucial first steps. Next, explore proven repair techniques to achieve optimal results, ensuring your Tesla maintains its protective layer and glossy finish.
- Understanding Tesla PPF Removal Process
- Assessing Damage and Preparing the Surface
- Effective Repair Techniques for Optimal Results
Understanding Tesla PPF Removal Process
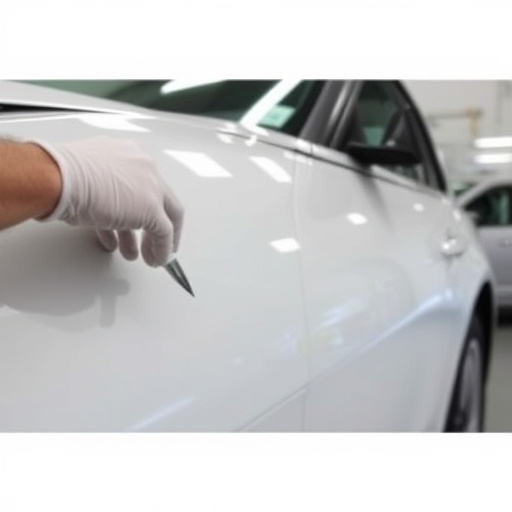
Removing Tesla’s Paint Protection Film (PPF) is a meticulous process that requires caution and expertise. It often becomes necessary to repair or replace parts of the car’s surface after the old film has been taken off, especially if there were any damages or imperfections during the initial installation. The PPF removal process involves carefully peeling away the film, layer by layer, ensuring no damage is caused to the underlying paint. This is a delicate task, as any error can lead to scratches or other cosmetic issues.
After successful removal, assessing the vehicle’s exterior for repairs is crucial. Common issues that may require attention include small dents, chips, or areas where the paint has lifted. Professional auto repair services, particularly those specializing in fleet repair, offer expert solutions for Tesla PPF repair, ensuring the car’s surface is restored to its original condition or even enhanced with modern protective coatings.
Assessing Damage and Preparing the Surface
After successfully removing the old Tesla PPF (paint protection film), the next crucial step in Tesla PPF repair is assessing the damage and preparing the surface. Carefully inspect the vehicle’s body, looking for any scratches, dents, or other imperfections that may have been hidden under the film. Even minor issues can impact the overall appearance of your car once the film is removed, so it’s essential to take note of these details.
Preparing the surface involves thorough cleaning and decontaminating to ensure optimal adhesion when reapplying the PPF. Use dedicated car wash products and a soft cloth or sponge to remove all dirt, grease, and other contaminants from the affected areas. Drying the surface is equally important, as any moisture can hinder the bonding process during repair. A clean, dry car body is ready for the application of new paint protection film, ensuring a seamless finish and enhanced vehicle restoration.
Effective Repair Techniques for Optimal Results
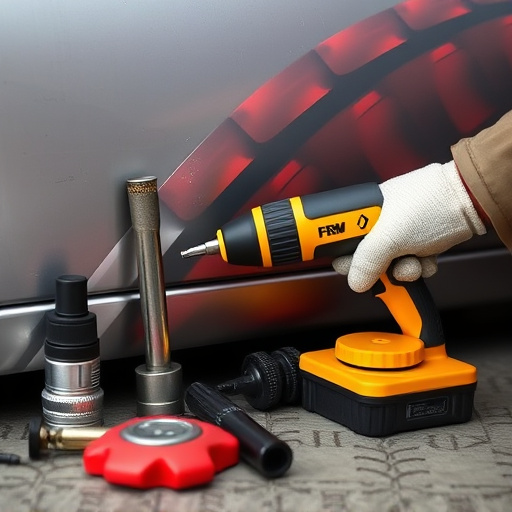
When repairing a Tesla PPF (paint protection film) after its removal, employing effective techniques is crucial for achieving optimal results. The first step involves thoroughly cleaning the affected area to ensure no debris or contaminants remain. This process includes using specialized cleaners and microfiber cloths to eliminate any residue that could hinder the adhesion of the new film.
For damaged areas with chips, cracks, or hail damage, a Mercedes Benz collision repair-like precision is required. Filling and sanding techniques can be employed to smooth out imperfections and create a seamless base for reapplication. This meticulous approach, often seen in top collision centers, ensures that the Tesla PPF repair matches the vehicle’s original finish seamlessly, protecting the paintwork from future damage and maintaining its sleek appearance.
Removing and repairing Tesla’s Paint Protection Film (PPF) requires careful navigation through each step. By understanding the removal process, assessing any damage, and employing effective repair techniques, you can achieve optimal results that protect your vehicle’s paintwork for years to come. Remember, proper preparation is key to a successful repair, ensuring your Tesla maintains its vibrant finish.