

Tesla PPF (paint protection film) is a key component for maintaining the look and value of Tesla vehicles by shielding paint from damage. Repairing it requires skill, using specialized kits and techniques to minimize disruption to the surrounding finish while restoring damaged areas. Reputable auto repair shops with experienced technicians employ these methods to preserve the original paint quality, extending the PPF's lifespan and ensuring the vehicle retains its new appearance.
Tesla’s Paint Protection Film (PPF) is a crucial component for maintaining the integrity and longevity of their vehicles’ paintwork. When it comes to repairing or replacing PPF, preserving the original paint is paramount. This article guides you through the process, emphasizing the importance of maintaining paint quality during repairs. We’ll offer a step-by-step approach to ensure your Tesla’s PPF repair is done effectively, keeping your vehicle’s finish as close to pristine as possible.
- Understanding Tesla PPF (Paint Protection Film) and Its Purpose
- The Importance of Preserving Paint Integrity During Repair
- Step-by-Step Guide to Effective Tesla PPF Repair
Understanding Tesla PPF (Paint Protection Film) and Its Purpose

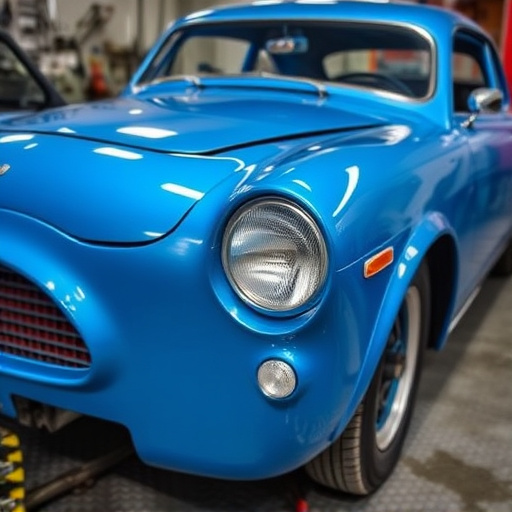
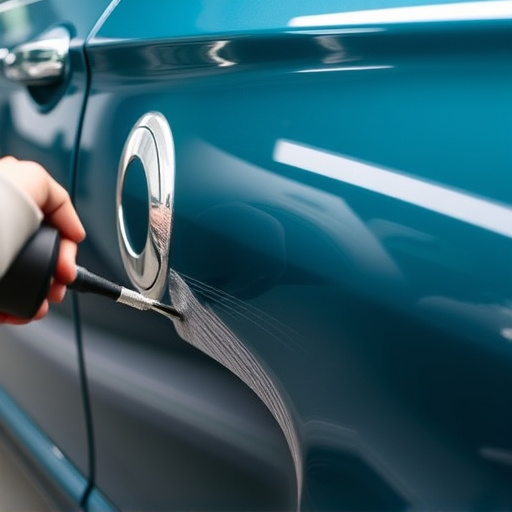
Tesla PPF (paint protection film) is a crucial component for maintaining the integrity and aesthetics of Tesla vehicles. This innovative film acts as a shield, protecting the vehicle’s paint job from scratches, chips, and other types of damage caused by everyday driving conditions and environmental factors. By applying PPF, owners can significantly extend the lifespan of their car’s finish, preserving its original look and value.
The primary purpose of Tesla PPF is to provide an extra layer of protection beyond conventional auto paint. It’s designed to be durable, flexible, and transparent, seamlessly integrating with the vehicle’s design while offering robust defense against stones, bugs, and other road debris. When repairing or replacing PPF, it’s essential to ensure that the process preserves the film’s integrity to maintain its protective qualities, making vehicle body repair a delicate task that requires expert auto repair services.
The Importance of Preserving Paint Integrity During Repair
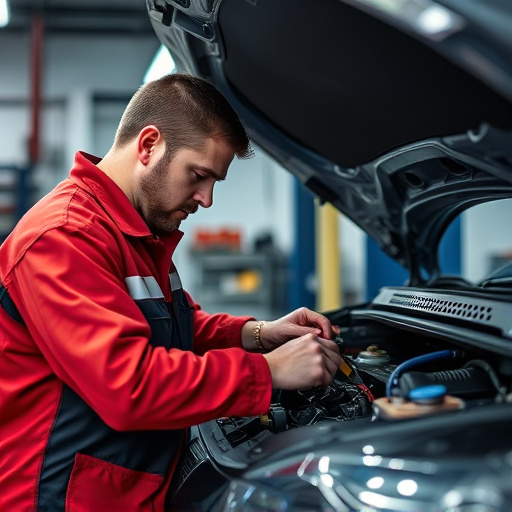
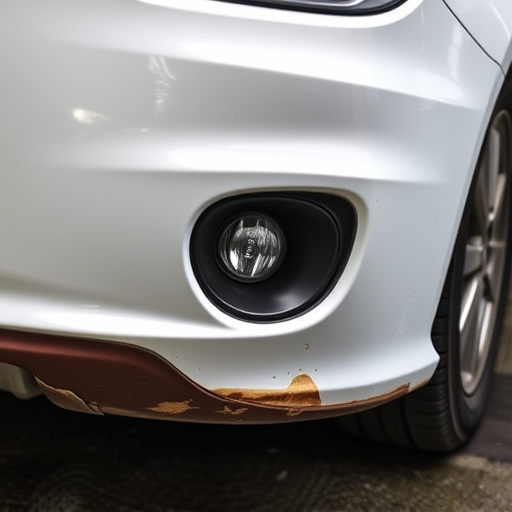
Preserving paint integrity is paramount when it comes to Tesla PPF (paint protection film) repair. While PPF offers significant benefits in safeguarding the vehicle’s exterior against scratches, chips, and other forms of damage, proper repair techniques are essential to maintain its effectiveness. During the repair process, every effort must be made to minimize the impact on the surrounding paint, ensuring that the restoration is seamless and the overall aesthetic remains intact.
This meticulous approach involves specialized tools, advanced techniques, and a deep understanding of automotive painting. Reputable auto repair shops and collision repair centers equipped with experienced technicians employ these methods to preserve the original paint’s quality and appearance, extending the lifespan of the PPF and providing owners with a vehicle that looks as good as new.
Step-by-Step Guide to Effective Tesla PPF Repair

When it comes to repairing a Tesla PPF (paint protection film), the process requires careful attention to preserve the integrity of the vehicle’s paintwork. Here’s a step-by-step guide for effective repair:
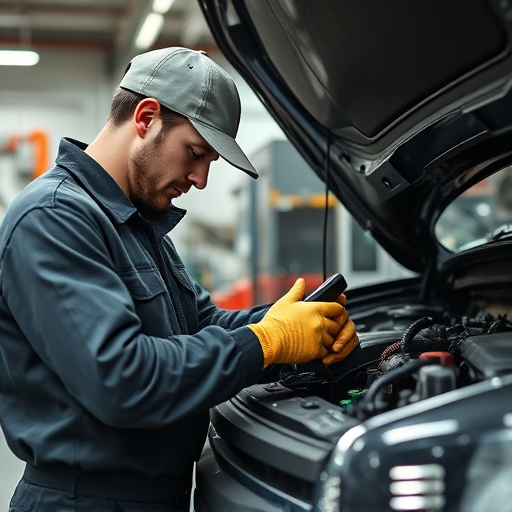
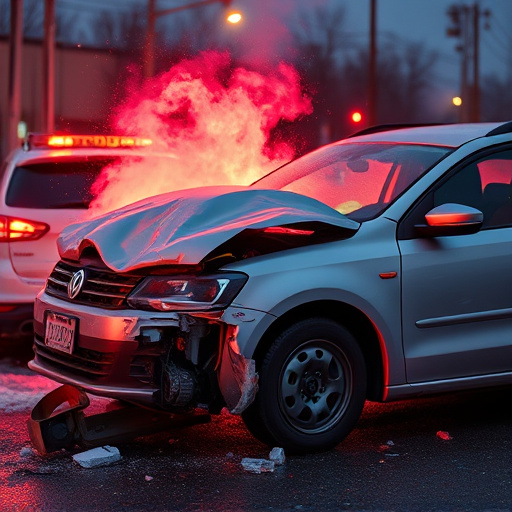
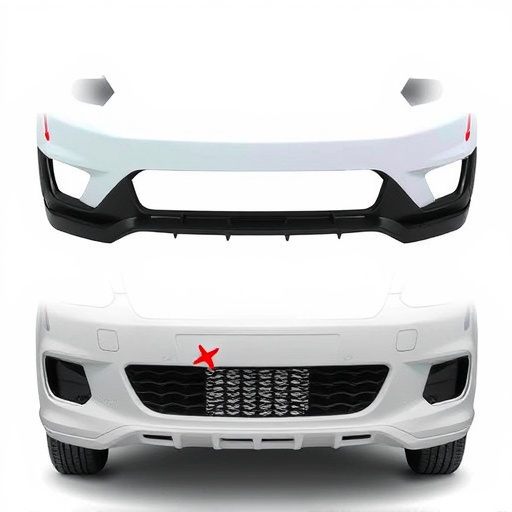
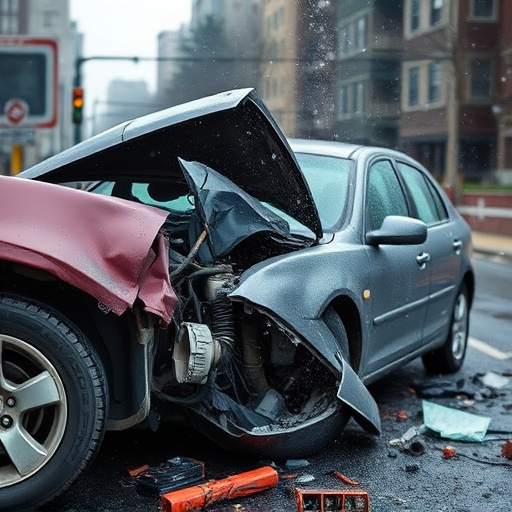
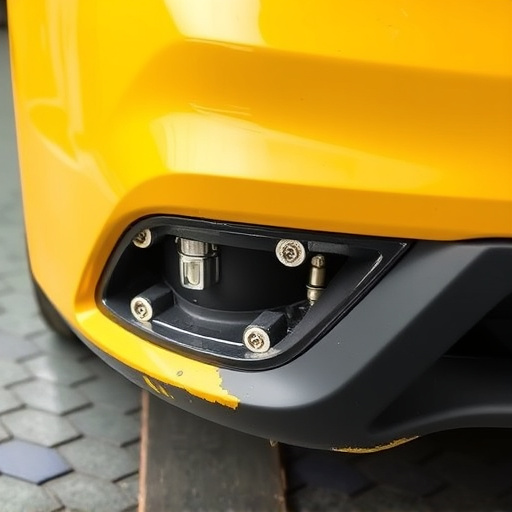
1. Inspect and Assess the Damage: Carefully examine the affected area to determine the extent of the damage, such as cracks, chips, or scratches on the PPF. Identify if any underlying paint is compromised.
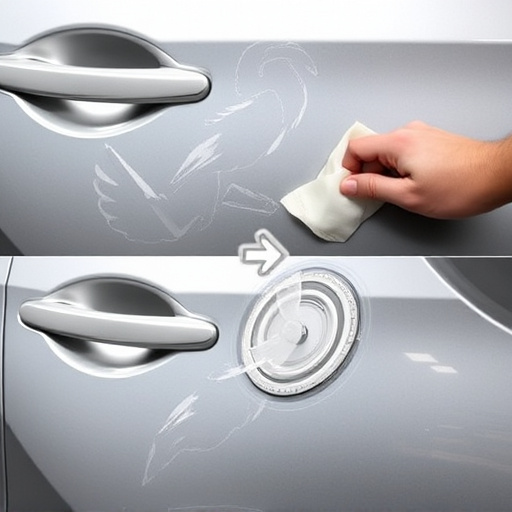
2. Prepare the Surface: Begin by cleaning the damaged zone using a suitable cleaner and microfiber cloths. Remove any debris or contaminants that could hinder the repair process. For more severe dents or scratches, consider using specialized tools for dent removal to ensure a smooth base before applying the PPF repair kit.
3. Gather the Repair Kit: Tesla PPF repair kits typically include adhesive, primer, and topcoat. Ensure you have all components before starting. Some kits may also offer specific instructions tailored to Tesla models, which can be beneficial for precise results.
4. Apply Adhesive and Primer: Follow the kit’s instructions to apply the adhesive evenly over the damaged area. Allow it to set according to the recommended time frame. Subsequently, apply a thin layer of primer, ensuring even coverage. This step prepares the surface for the PPF repair.
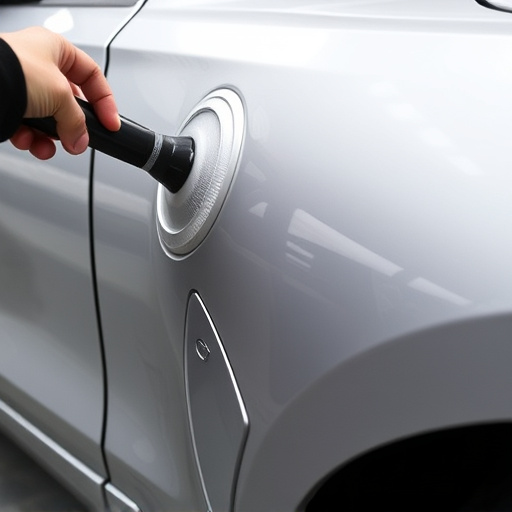
5. Replace or Repair the Film: If the PPF is cracked or torn, carefully cut out the damaged section and replace it with new film from the kit. For small chips or scratches, use the repair compound to fill and smoothen the area, then allow it to dry.
6. Apply Topcoat: Once the primer is dry, apply a thin, even coat of topcoat over the repaired area. Ensure no bubbles or runs form during application. The topcoat will blend with the surrounding PPF and paint, ensuring a seamless finish.
7. Final Touches and Inspection: After the topcoat has fully cured, inspect the repaired area under different lighting conditions to ensure a professional outcome. Adjust as needed, and remember that Tesla’s original PPF is designed to offer excellent protection, so achieving a perfect match is crucial.
When undertaking Tesla PPF repair, preserving the integrity of the paint is paramount. This not only ensures the vehicle’s aesthetic appeal but also protects its value. By following a meticulous step-by-step guide and prioritizing careful navigation of the repair process, owners can effectively maintain the film’s protective properties without compromising the beauty of their Tesla’s finish. Remember, proper restoration techniques for Tesla PPF are key to keeping your vehicle looking as good as new.