


Tesla PPF (paint protection film) repairs require skilled installers for optimal results. Certified professionals use advanced techniques to fix cracks, bubbles, and dislodged film, preserving your Tesla's aesthetic value. The process involves inspection, preparation, cutting, patching, and reapplication, ensuring seamless blends with the vehicle's exterior. Regular maintenance is key to protecting your investment.
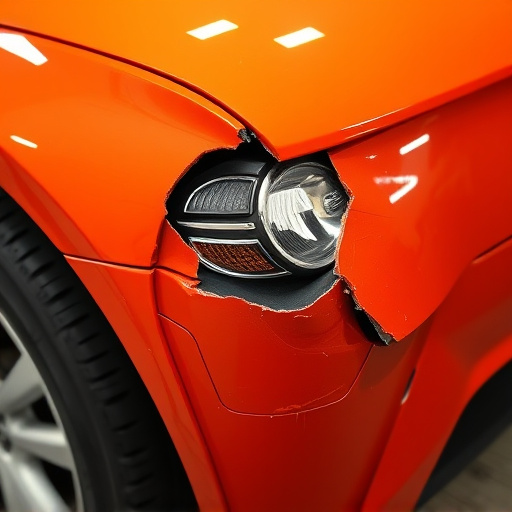
Tesla owners know their vehicles require special care, and that’s where Tesla PPF (paint protection film) comes in. This innovative layer shields paint from chips, scratches, and UV damage. However, it’s not indestructible. Common issues like stone chips or accidental bumps can mar its surface. Certified installers play a vital role in restoring Tesla PPF to its original condition, ensuring your vehicle retains its sleek, protected exterior. Read on for an in-depth look at understanding PPF, the repair process, and why professional installers are key to a flawless restoration.
- Understanding Tesla PPF: Protection and Common Damages
- The Role of Certified Installers in Repair Process
- Step-by-Step Guide to Effective PPF Restoration
Understanding Tesla PPF: Protection and Common Damages
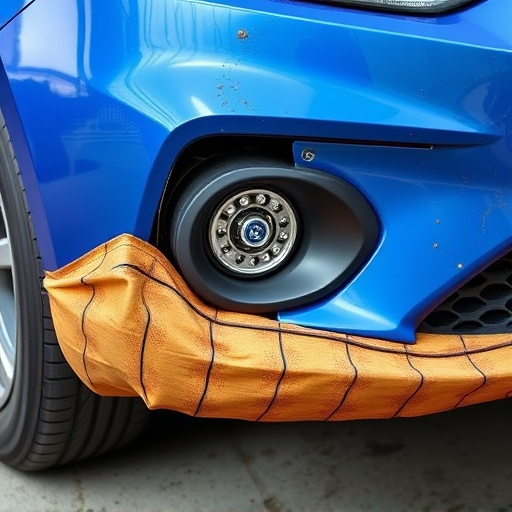
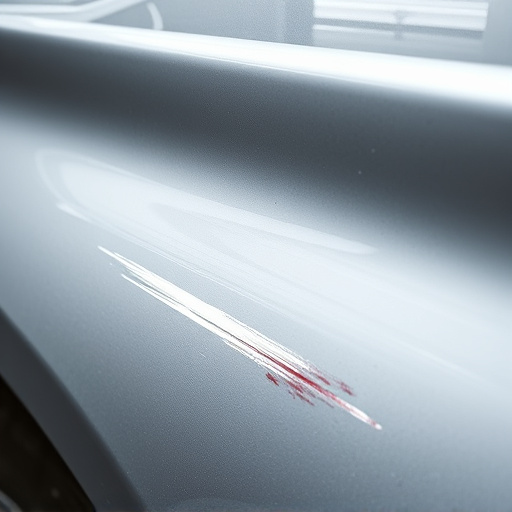
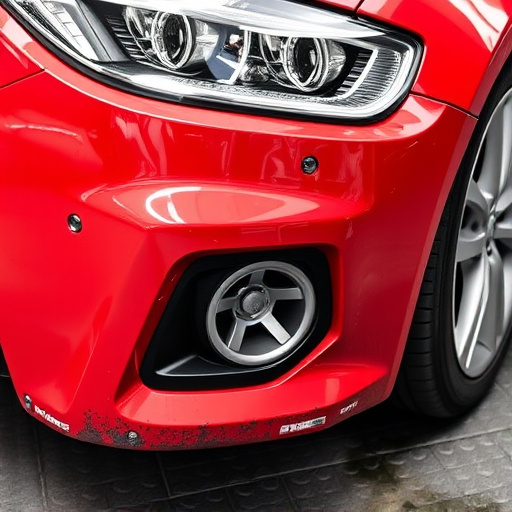
Tesla PPF, or Paint Protection Film, is a durable, clear synthetic material designed to shield vehicle paintwork from scratches, chips, and other types of damage. By acting as an extra layer of protection, it helps maintain the car’s original look and value. However, despite its resilience, PPF can still suffer common damages such as cracks, bubbles, or dislodging, especially in areas prone to stone chips or frequent washing.
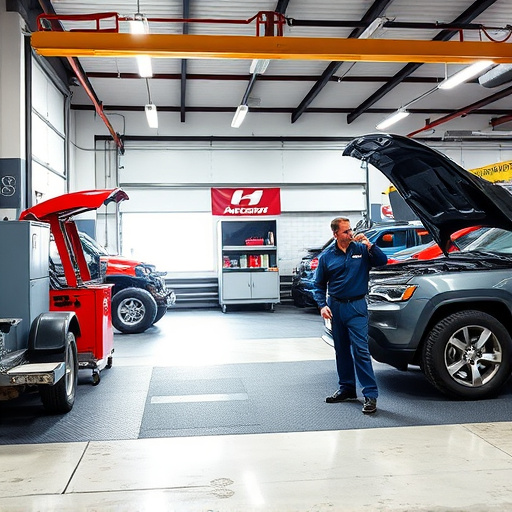
Regular maintenance and prompt repair are crucial when addressing Tesla PPF issues. Ignoring even minor damage can lead to more extensive repairs later on. Certified installers at reputable auto repair shops are equipped with the necessary expertise and tools to accurately diagnose and fix PPF problems, ensuring your vehicle’s paint protection remains optimal. Whether it’s a simple chip repair or a complete PPF replacement, choosing a qualified professional for Tesla PPF repair is essential in preserving your vehicle’s aesthetics and investment.
The Role of Certified Installers in Repair Process
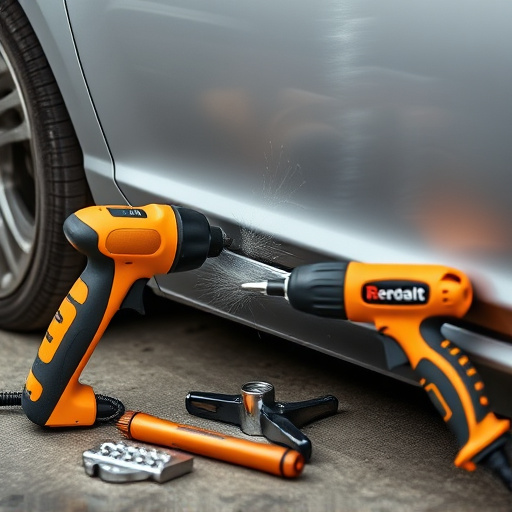
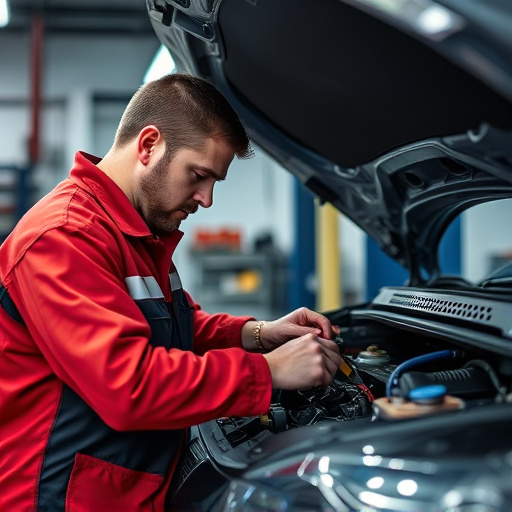
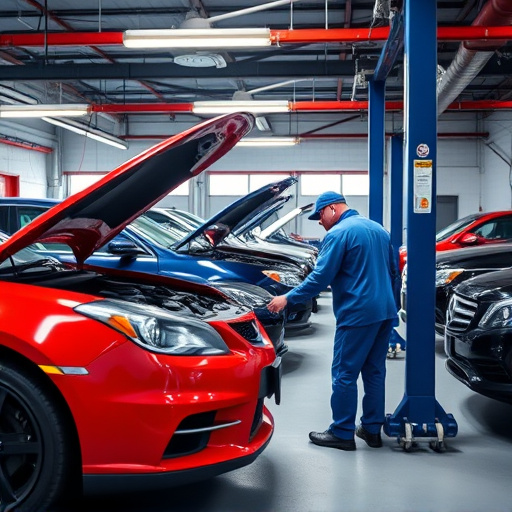
When it comes to Tesla PPF (paint protection film) repair, certified installers play a pivotal role. These professionals are not just trained in handling this specialized material but also understand the intricate details of the vehicle’s design and construction. Their expertise ensures that repairs are not only aesthetically pleasing but also perfectly aligned with the vehicle’s original specifications.
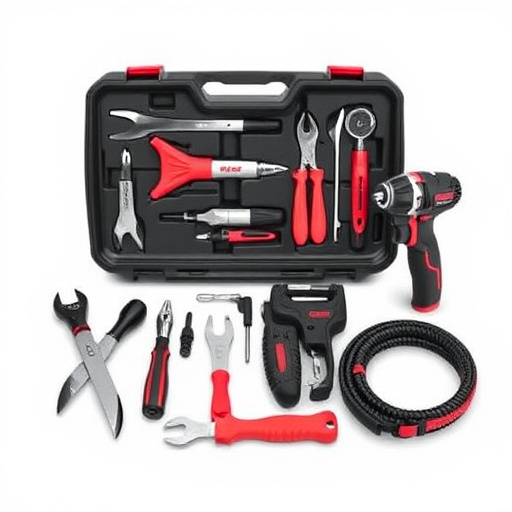
Certified installers utilize advanced techniques and tools to remove damaged film, prepare the surface, and apply new PPF accurately. This meticulous process goes beyond simple scratch repair; it involves precision work to preserve the car’s glossy finish and overall aesthetics. Moreover, these experts can often integrate tire services and auto body repairs as part of a comprehensive solution, addressing multiple issues simultaneously for convenience and efficiency.
Step-by-Step Guide to Effective PPF Restoration
Restoring a Tesla PPF (paint protection film) involves a meticulous process to ensure optimal results and protect your vehicle’s finish. Here’s a step-by-step guide for effective restoration:
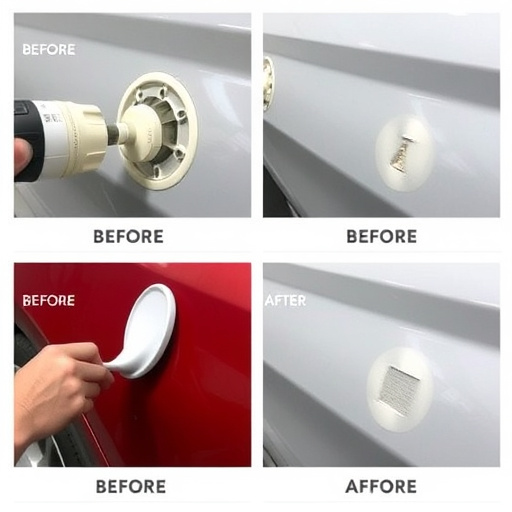
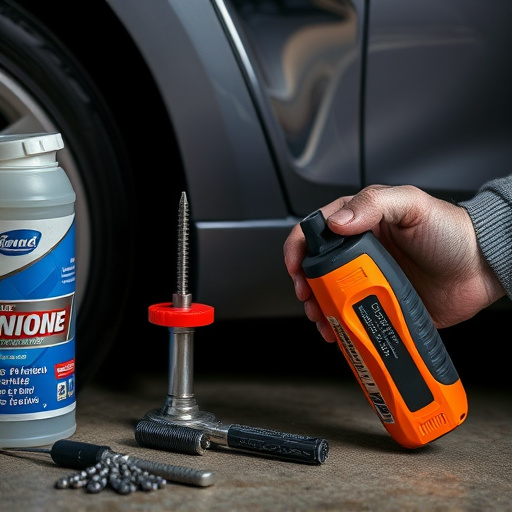
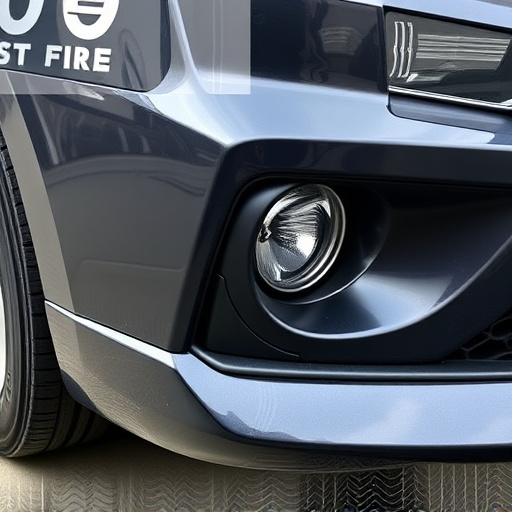
1. Preparation: Begin by thoroughly inspecting the damaged area, removing any debris or contaminants trapped under the film. Clean the surface with a dedicated car wash and de-greaser to eliminate any residue that could hinder adhesion during repair. This meticulous preparation is crucial for achieving a seamless finish.
2. Cutting and Removing: Using precision tools, carefully cut away the damaged PPF around the affected area. It’s essential to take your time here; sharp cuts prevent further damage. Once cut, gently peel back the film, taking care not to stretch or tear it. This step requires patience and a steady hand to avoid marring the underlying paint surface.
3. Patching and Filling: After removing the damaged PPF, repair any corresponding scratches or dents in the base paint using automotive-grade filling compound. Allow the filler to dry completely before sanding for a smooth surface. Make sure the area is free from imperfections; this ensures proper adhesion of the replacement film.
4. Application of New Film: Measure and cut a new section of PPF to match the repaired area precisely. Apply a thin layer of adhesive onto the surface, following the manufacturer’s instructions. Position the new film carefully, ensuring it aligns perfectly with surrounding panels. Use a smooth tool to press out air bubbles and ensure even contact with the adhesive.
5. Curing: Allow the adhesive to cure as per the product guidelines. This step is crucial for achieving long-lasting bond strength. Once cured, inspect the repair for any imperfections, ensuring a seamless integration of the PPF with your Tesla’s exterior.
When it comes to restoring your Tesla’s paint protection film, relying on certified installers is paramount. Their expertise ensures a flawless repair process, preserving the PPF’s protective qualities and maintaining the vehicle’s pristine aesthetic. By following best practices and seeking professional help, Tesla owners can extend the lifespan of their PPF and safeguard their investment against future damage.